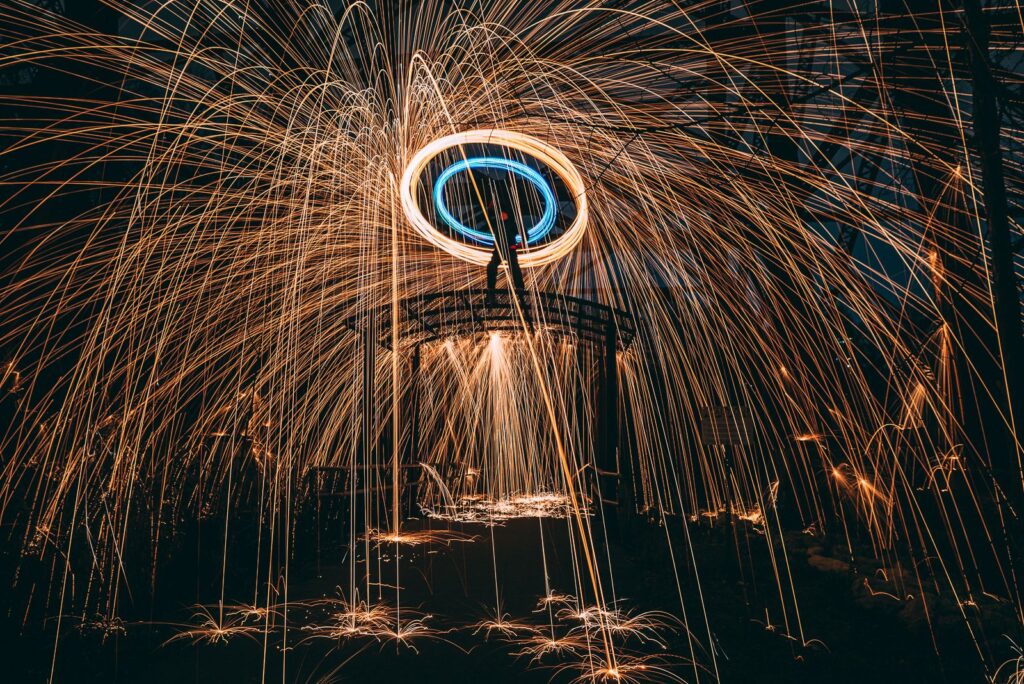
Night Sky Photography
Most of the techniques I’ll be talking about in this post can be classified as long exposure, but night sky photography is my absolute favourite of them all. It’s always amazing to be able to see the stars on a clear night in the country, but it’s nearly impossible to capture with your iPhone camera. Luckily, if you’ve got a DSLR or mirrorless camera and a sky mapping app, I can help you get a jaw-dropping shot of the Milky Way or your favourite constellations.
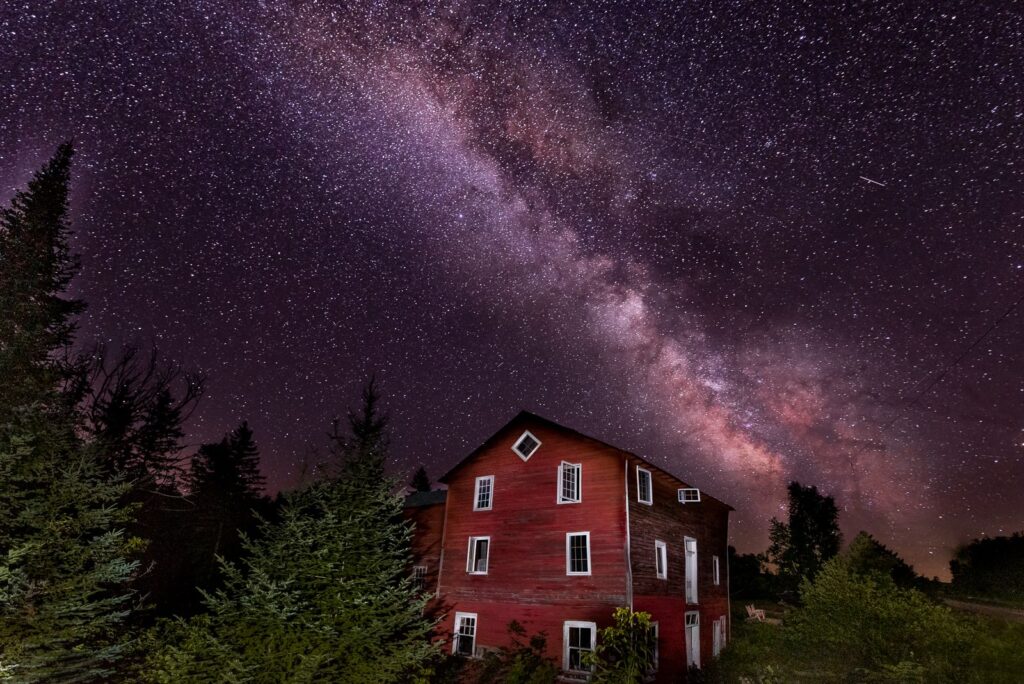
The trickiest part of photographing the night sky is that what we see with the human eye is never going to be able to match what your camera will capture for you (if you know what settings to use). For this, I recommend downloading an app like Stellarium that uses GPS to map the sky wherever you are. I tend to aim for the Milky Way when I can, because the light and colours it produces are incredible.
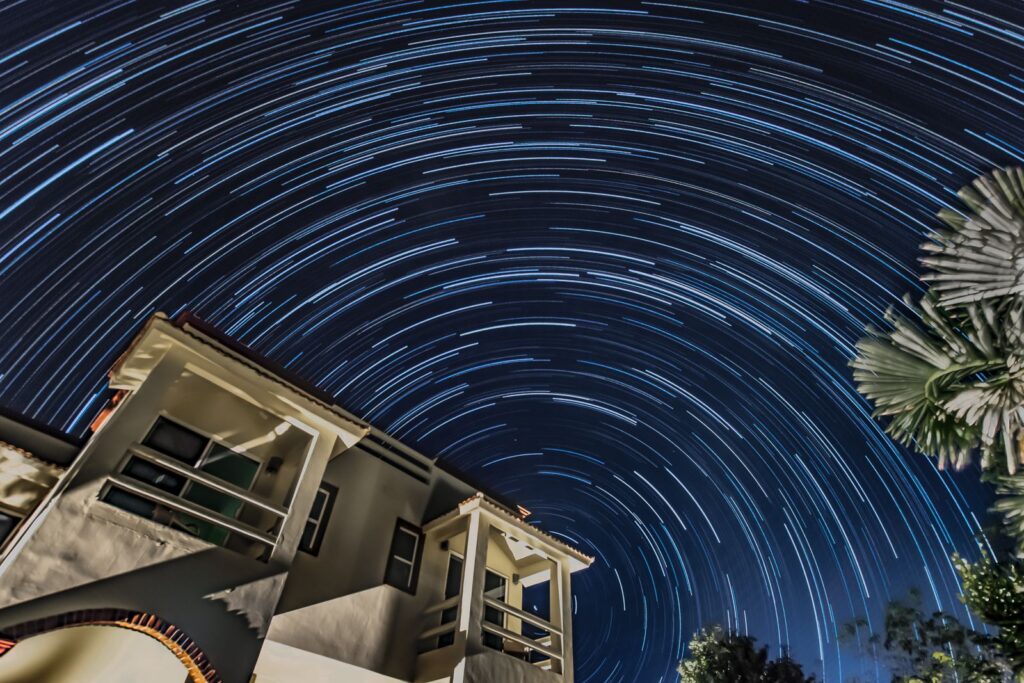
Another must is a tripod. There simply is no way to hold your camera still enough to do long exposure photography without one, even if you have hands as steady as a surgeon. If you don’t have a tripod, you’ll have to find a way to prop up your camera on a stable surface. It helps if you set a timer, too. That way, your camera won’t vibrate when you press the shutter.
I’d also recommend using your widest lens for this. If you’ve got a lens with a focal length of 10mm or 20mm, that will be your best bet for this kind of shot. Anything longer than a 24mm lens is going to make it difficult if you have any sort of subject in the foreground, like a building or landscape that you want in your shot.
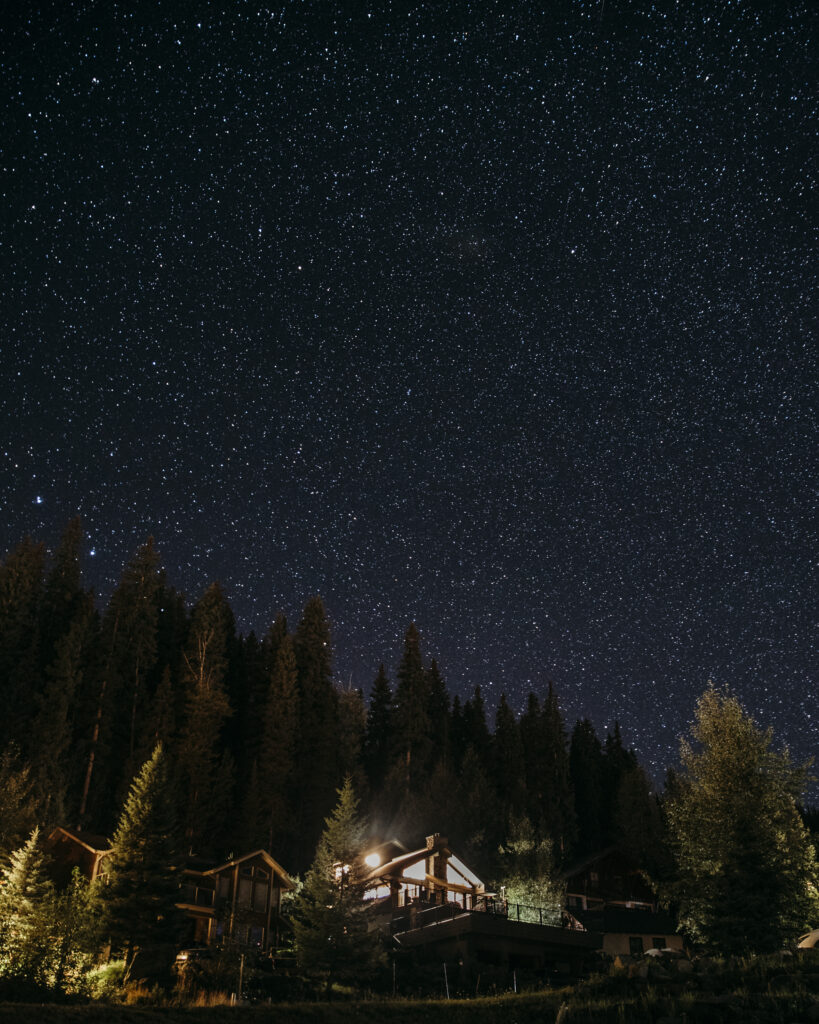
For these photos, I typically shoot at f/2.8 for 30 seconds, with an ISO of around 1600. Your ISO will really just depend on the amount of ambient light in your scene, so don’t feel obligated to stick to 1600. Depending on your camera and the conditions you’re shooting in, these settings might change. My only advice would be to try to keep your shutter speed at the longest setting possible, and decrease your ISO if the shot is too bright, since a lower ISO will help with noise reduction.
Light Painting
Although the results of light painting photography can be just as impressive as night sky photography, I’ve ranked it as my second favourite type of long exposure shot purely because it’s just so hard to get right. As always, the photos make light painting look really fun and interesting, and my hope is that these tips will ensure you have some fun creating your own!
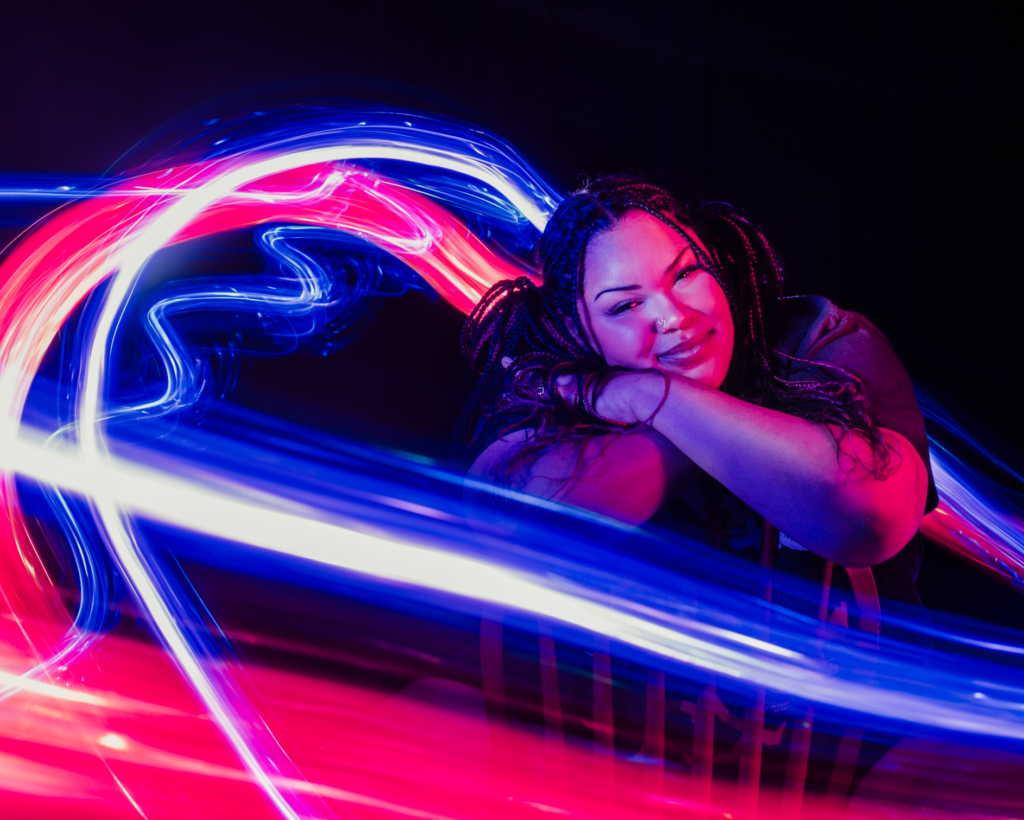
All you really need for a light painting session is your camera, a tripod, a dark room, and any light source you have on hand. I often just use flashlights I have around the house, and cover them with coloured cellophane from the dollar store. You can buy LED light kits specifically designed for light painting, but unless you’re going to do this all the time, I suggest you skip the fancy lighting and save your money for a new lens instead.
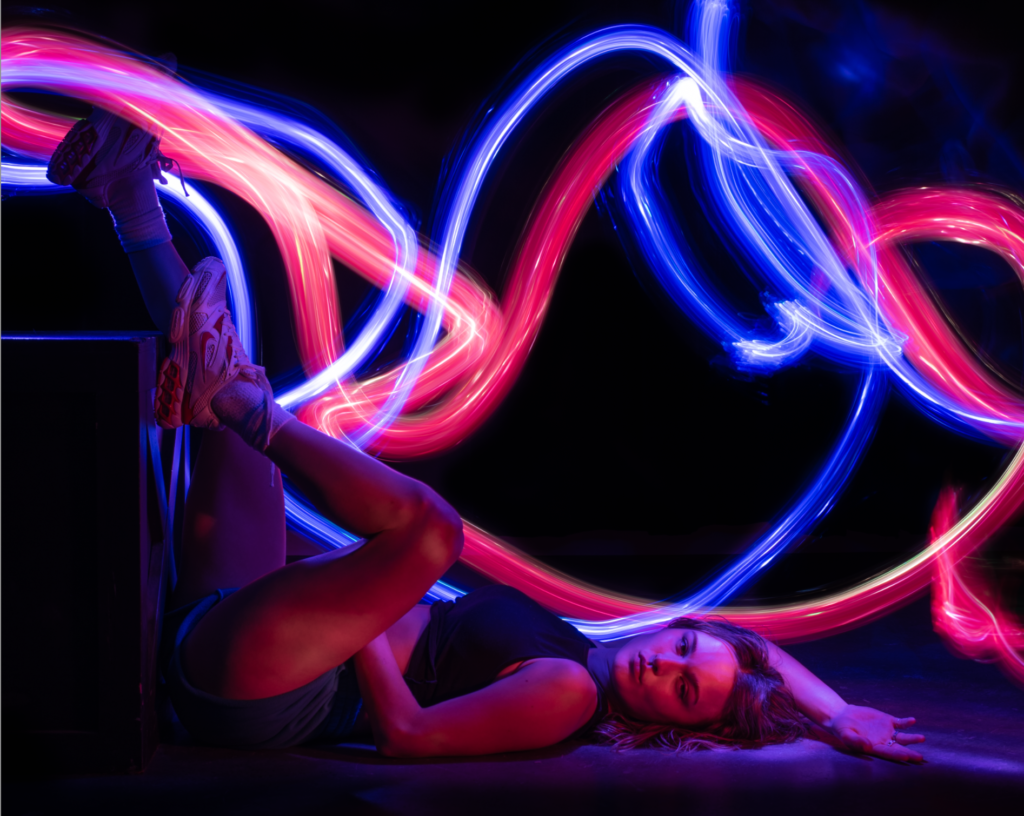
Unlike with night sky photos, you can pretty much use whichever lens you like for light painting, as long as you’ve got enough room between your tripod and your subject to allow you to move around and between them. Light painting requires a lot of darkness, so the last thing we want is anyone tripping over a tripod leg trying to get a good shot.
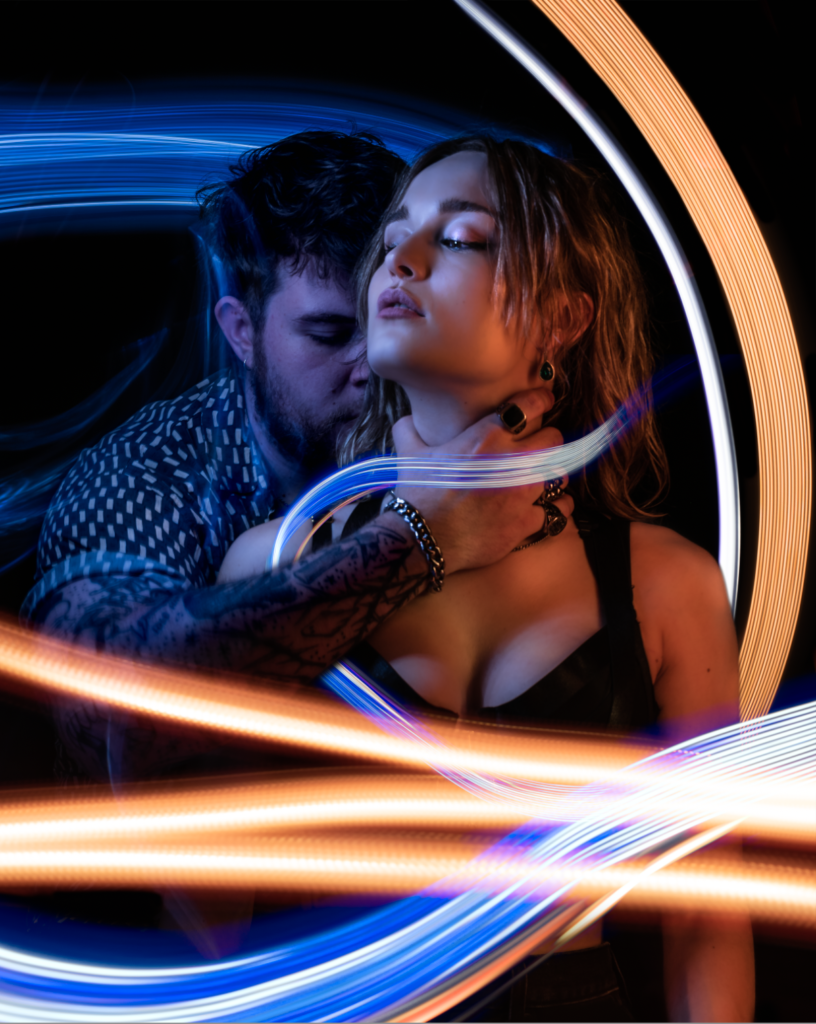
For these photos, I used a 50mm lens at f/9-f/11, ISO 100, and 15-20 second exposures. This whole project took a lot of trial and error, so don’t forget to be patient with yourself (and your model) if the photos aren’t perfect on the first try. Asking someone to stay completely still for 20 seconds might not sound like a big ask, but keep in mind that people twitch and shake just a little bit without realising, and those tiny movements can be enough to blur their portrait. My best advice is to practise, practise, practise – and to practise on objects before you try light painting portraits of people.
Panning
Panning is the easiest of the three techniques on this list, and not just because you can actually do it in daylight. The cool thing about panning is that you don’t need a tripod, and you don’t need to ask your subject to stay perfectly still. Panning is all about movement.
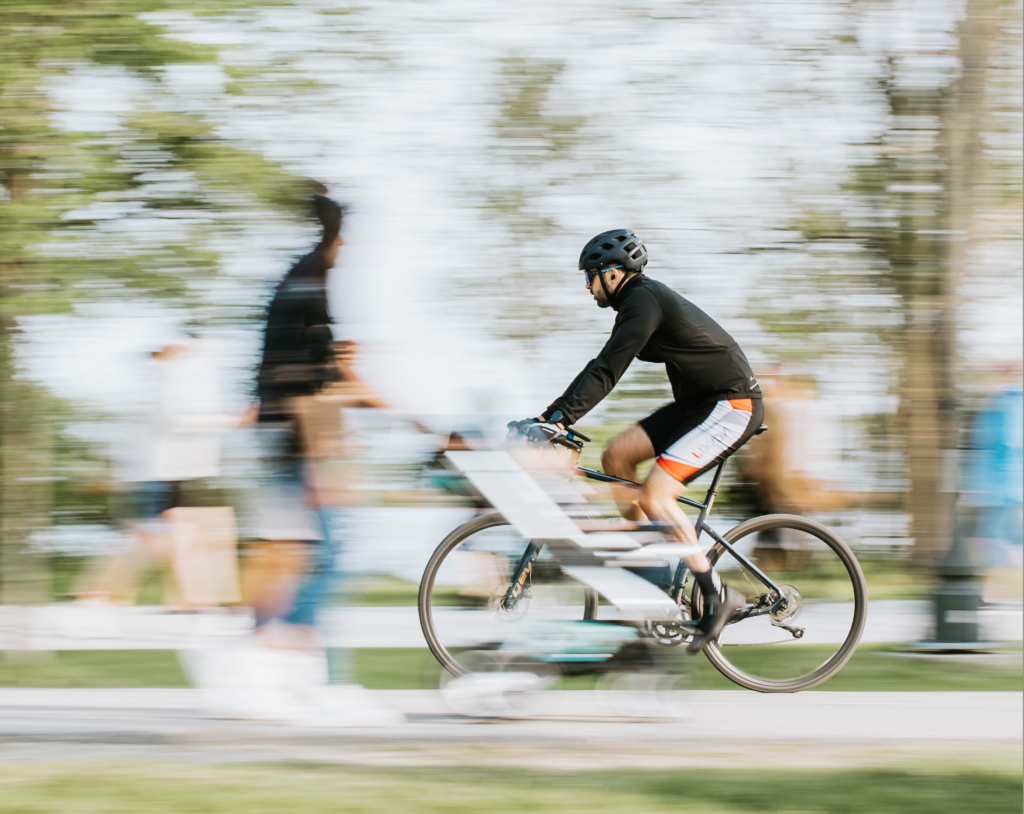
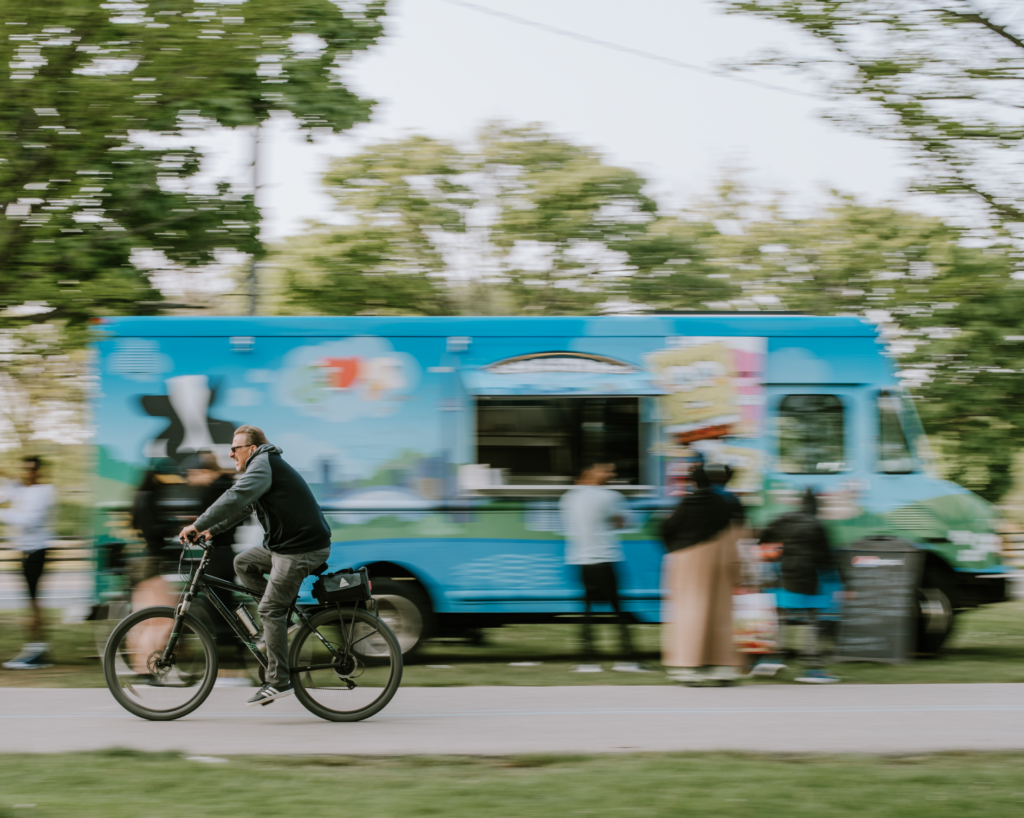
For a good panning shot, you want to make sure your shutter speed is long enough to capture motion blur, but fast enough to capture the detail in your moving target. Your body essentially acts as a swivel. Keep your elbows tucked into your body to stabilise your camera, and pivot your torso to track your subject. Panning shots are easiest to learn on slower subjects. As cool as it is to catch a shot of a race car zooming by, you’ll be able to learn better by shooting cyclists, joggers or even a cute dog at the park.
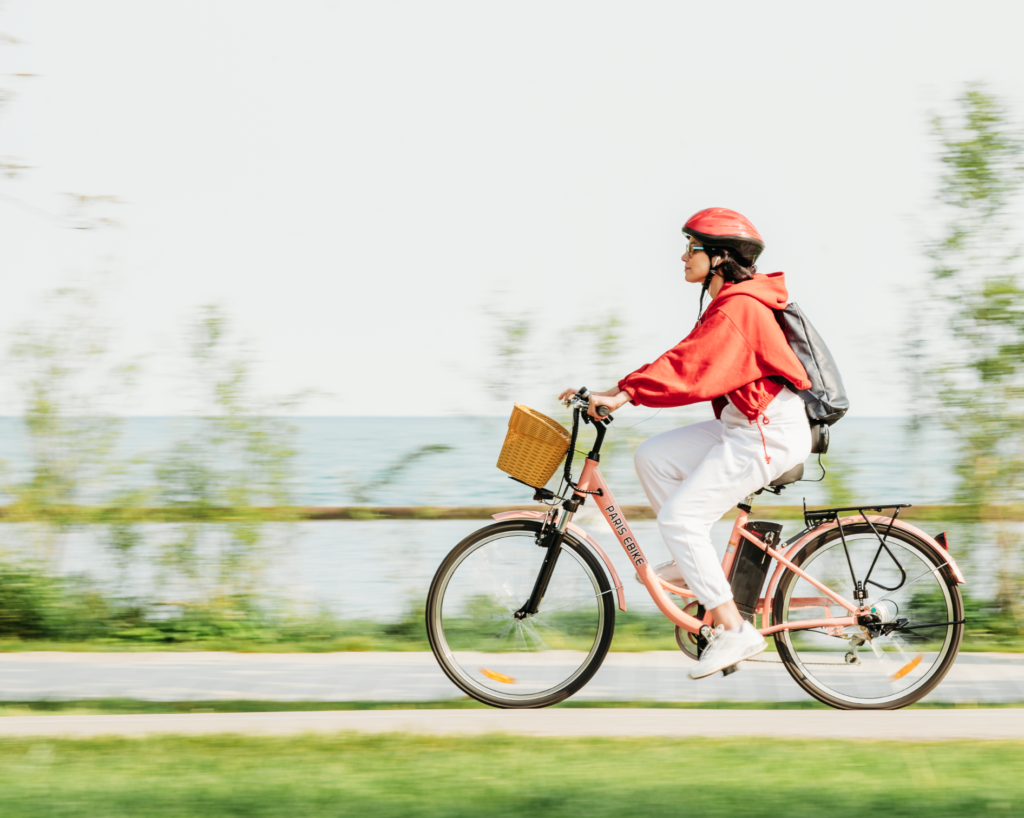
For these shots, my camera was set to f/9, ISO 100, and a shutter speed of 1/40. I used a 70-200mm lens, and though any lens will work, longer lenses are ideal for this kind of shot.
Ultimately, each of these techniques are going to require a lot of trial and error (and a lot of patience), but the results will certainly be worth it. Once you’ve got it figured out, try one of these techniques with your clients. Imagine the addition a beautiful starry night sky photo will make to a client’s wedding gallery!